 ELasticSearch监控之Cerebro
[toc]
# 安装包下载
https://github.com/lmenezes/cerebro/releases/download/v0.9.4/cerebro-0.9.4.tgz
1
git地址:https://github.com/lmenezes/cerebro
# 安装
- 将要包移动到/opt目录
- 解压、这是所属用户
 tar -zxvf cerebro-0.9.4.tgz
 ln -s cerebro-0.9.4 cerebro
 chown -R elasticsearch.elasticsearch cerebro-0.9.4
 chown -R elasticsearch.elasticsearch cerebro
1
2
3
4
2
3
4
- 配置参数说明
conf/application.conf
# 设置需要连接的ES信息
hosts = [
  {
   host = "http://172.16.24.191:9200"
   name = "dev-191-cluster"
   auth = {
        username = "elastic"
        password = "xxxxxx"
   }
  }
]
1
2
3
4
5
6
7
8
9
10
11
2
3
4
5
6
7
8
9
10
11
- 其他配置参数说明(可以不修改)
| 配置 | 备注 |
|---|---|
| pidfile.path | 服务运行的pid存放位置,如要避免产生pid可使用/dev/null |
| data.path | cerebro存储数据的位置,默认为cerebro安装目录 |
| hosts -> host | es集群的host地址 |
| hosts -> name | es集群的名称(随便起即可) |
- 启动
bin/cerebro &
1
- 查看日志
 tailf logs/application.log
2023-01-13 10:21:15,004 - [INFO] - from play.api.Play in main
Application started (Prod) (no global state)

2023-01-13 10:21:15,772 - [INFO] - from play.core.server.AkkaHttpServer in main
Listening for HTTP on /0:0:0:0:0:0:0:0:9000
1
2
3
4
5
6
2
3
4
5
6
- 访问
http://ip:9000

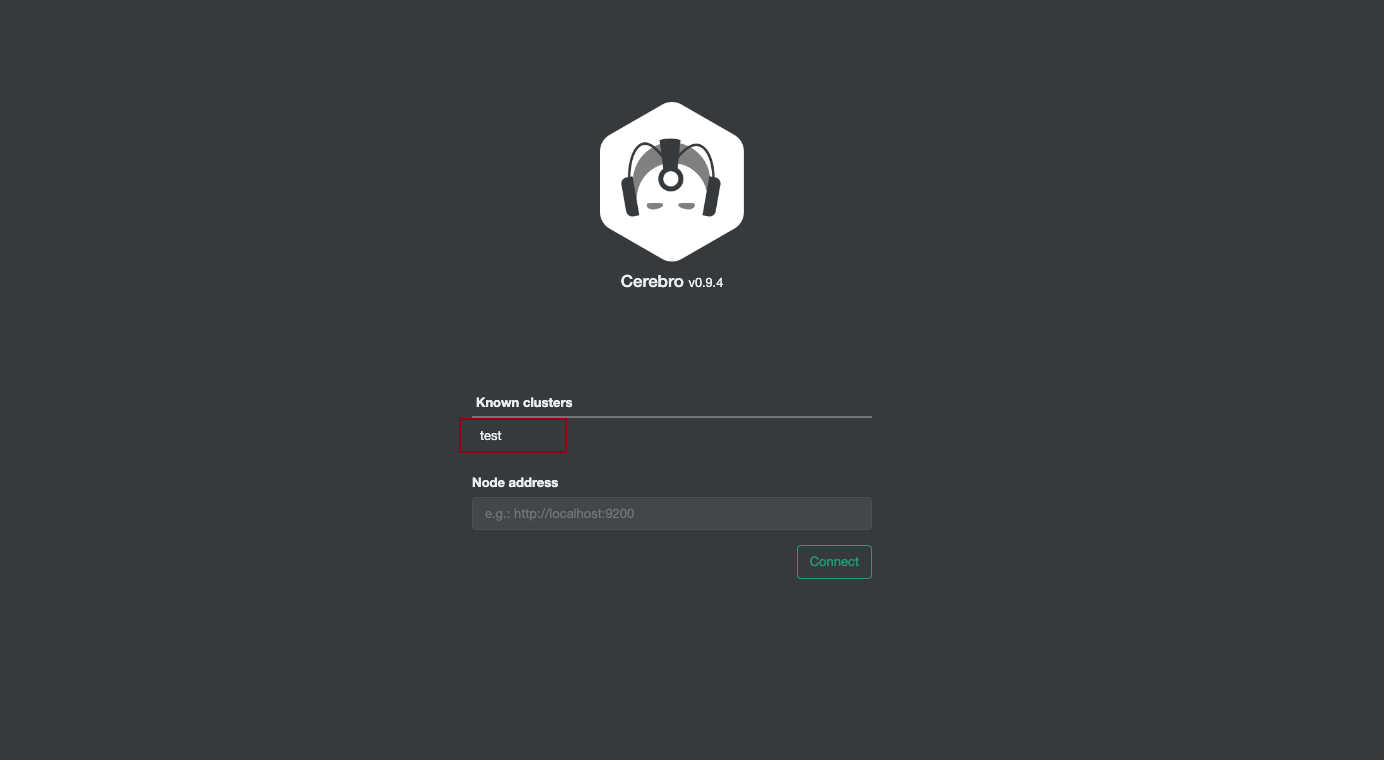
可以选择我们配置的集群,也可以单独连接
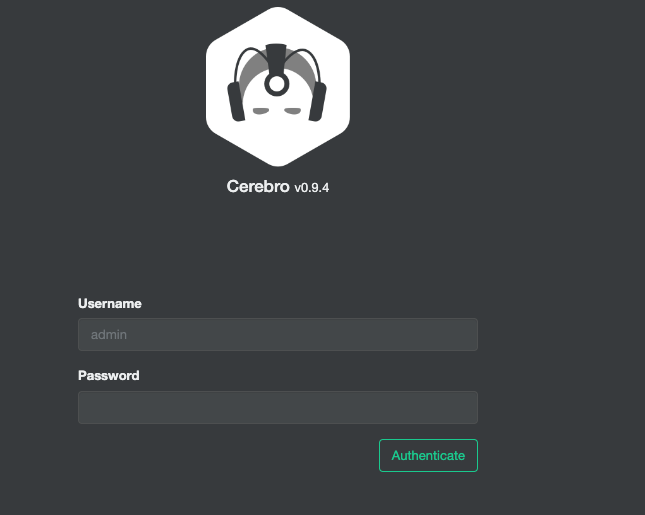
输入cerebro配置的账号密码(如果没在cerebro中配置es密码,而es集群又设置了密码需要输入es账号密码登录)

登录后可以查看集群信息

# 使用
# 点击nodes 查看各节点状态

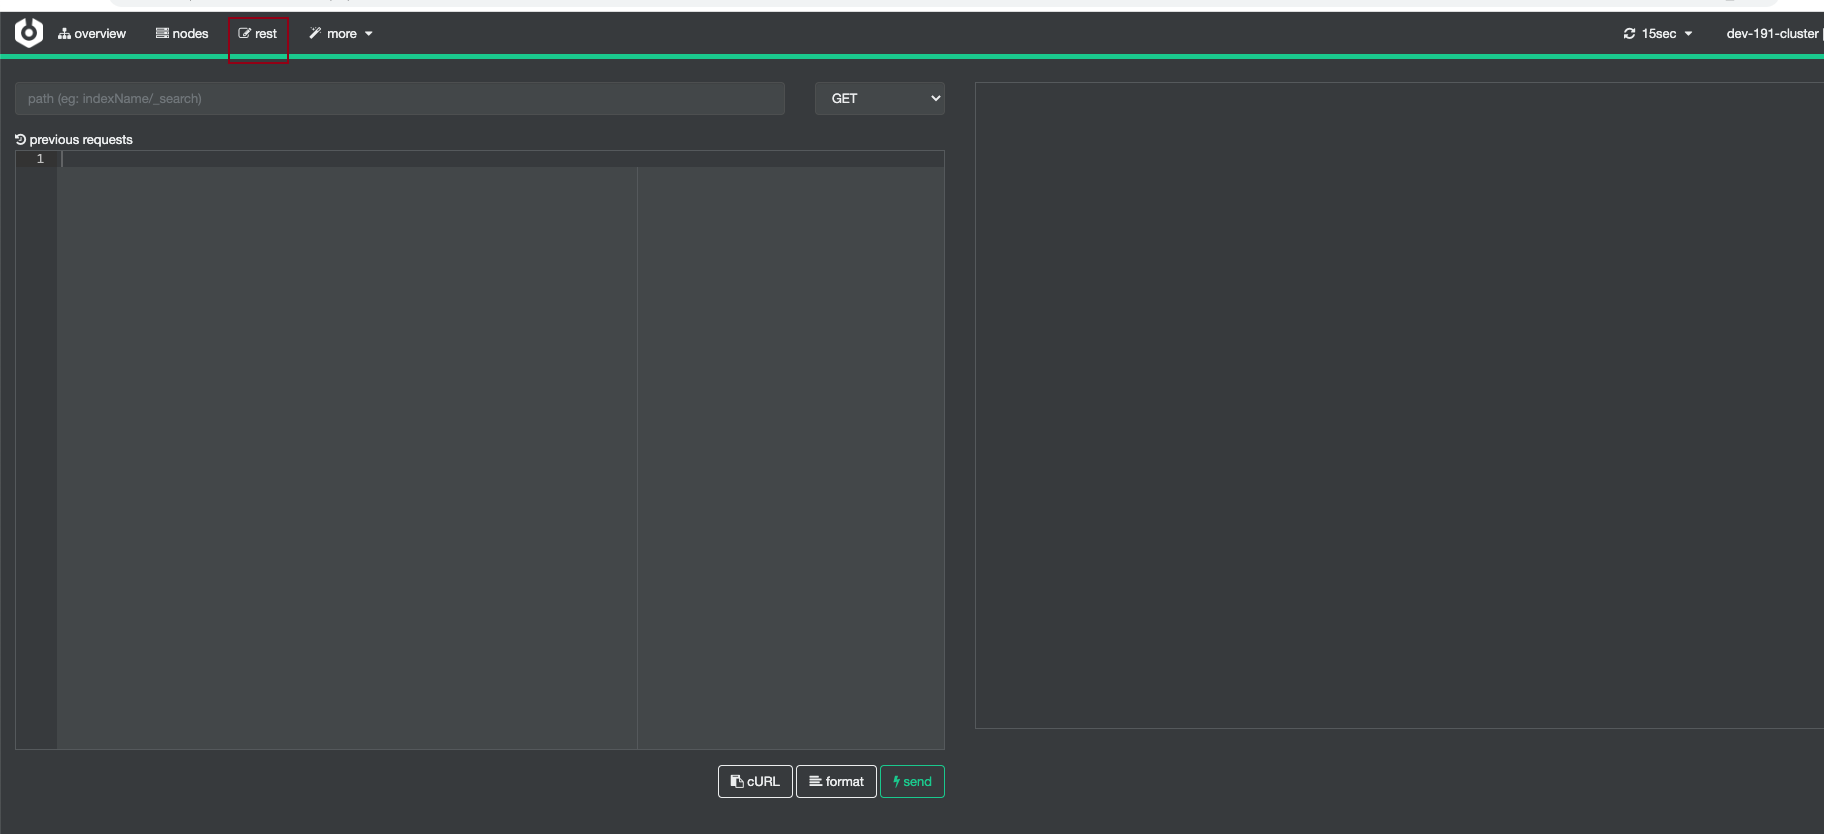
# 点击rest发送可以发送请求查询数据
但是这里没有kibana

上次更新: 2023/03/10, 20:58:04
